Visiting Easter Island takes a little more planning than you might expect. There are additional entry requirements, restrictions on how you can visit many archaeological sites and limited flight schedules.
We spent two nights on Rapa Nui and managed to fit a surprising amount into a short trip. These are the practical Easter Island travel tips we wish we had known before visiting.
This post contains affiliate links and display advertising. If you make a purchase through one of our links, we may earn a small commission at no extra cost to you, which helps support the running of this blog.
If you’re still planning the wider trip, start with our Easter Island Travel Guide: How to Plan a Trip to Rapa Nui.
1. Check the Rapa Nui Entry Requirements Before You Fly
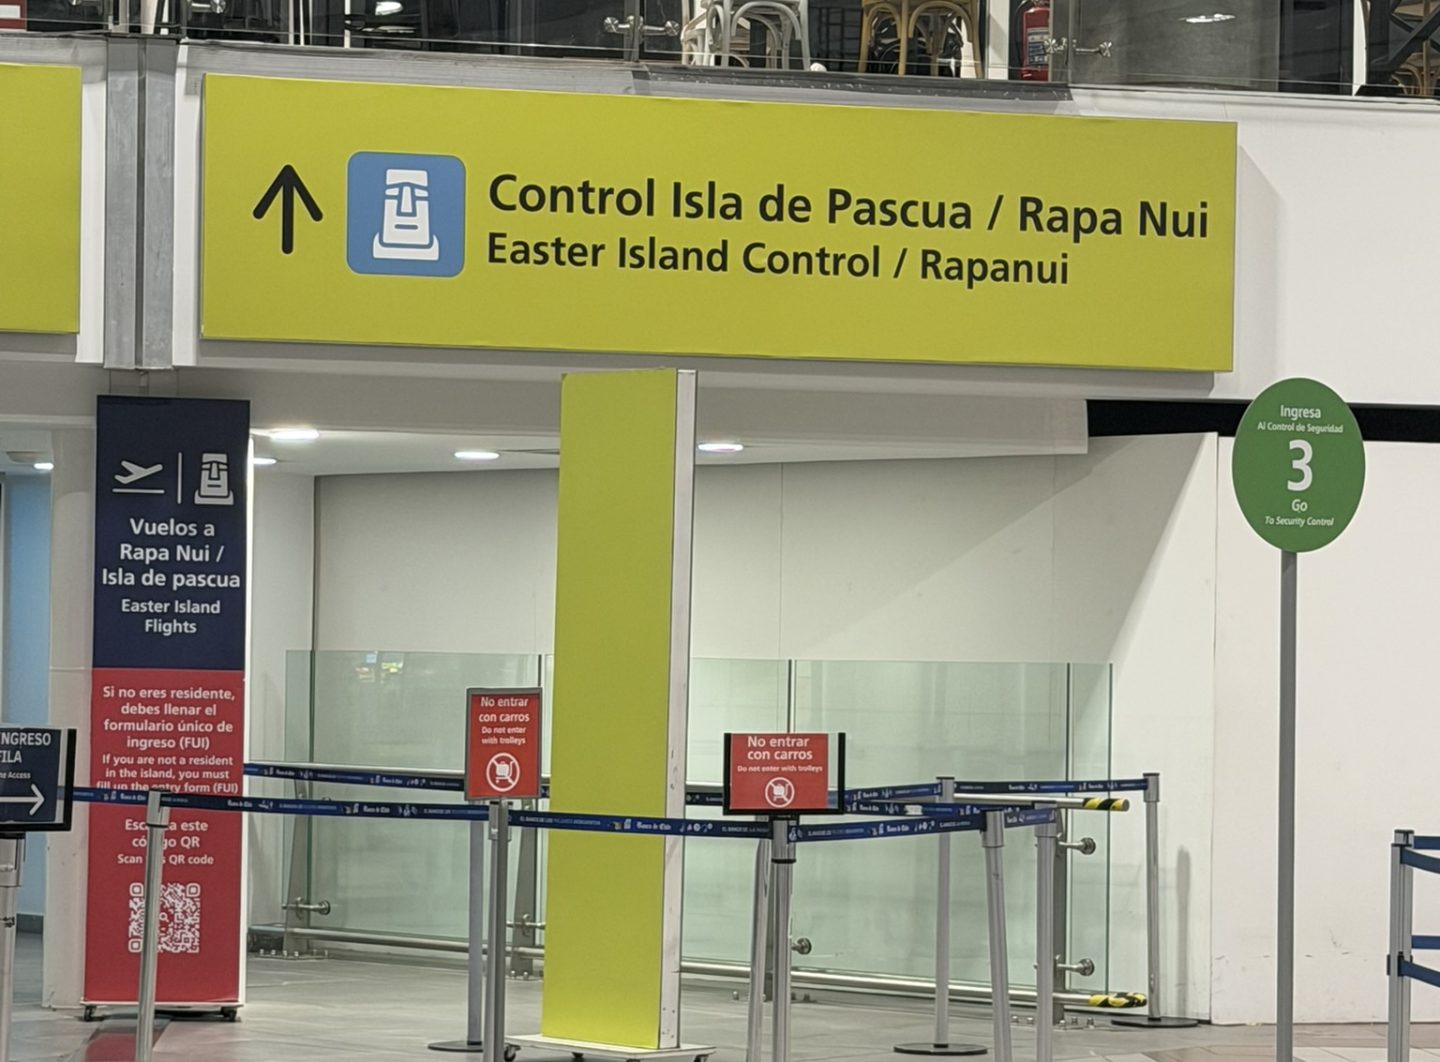
Although Rapa Nui is part of Chile, tourists need to complete the Rapa Nui Single Entry Form (FUI) within 48 hours before the flight. You’ll also need a round trip ticket and proof that you’re staying in accommodation registered with SERNATUR. Tourists can currently stay on Rapa Nui for a maximum of 30 days.
Read our full Cabañas Raupa review for more on where we stayed.
At Santiago Airport, passengers travelling to Easter Island pass through a separate Rapa Nui/PDI checkpoint before continuing to their flight. This is where the required documents are checked.
We completed the FUI before heading to the airport and kept our accommodation confirmation on our phones. It’s worth having everything ready before you arrive, as passengers who can’t provide the required documentation may not be permitted to travel.
2. Your National Park Ticket is Extra
Most organised tours cover your guide and transport, but Rapa Nui National Park admission is a separate purchase.
You can buy the ticket online through the official Rapa Nui National Park website or from the Ma’u Henua ticket office at the Rapa Nui Craft Fair in Hanga Roa. The official ticket is valid for 10 consecutive days.
If you’re an international visitor, make sure you choose the foreign visitor ticket. The National Park currently warns that buying the wrong ticket can prevent you from entering.
We’ve broken down exactly what we spent in How Much Does Easter Island Cost? Our 2 Night Rapa Nui Budget.
3. You Need an Accredited Guide
The National Park currently requires visitors to enter with a guide accredited by Ma’u Henua, even if you hire your own car.
For a short trip, organised tours were much easier for us. We booked this full day Rapa Nui tour for our main moai sites and this half day Rano Kau and Orongo tour on our arrival afternoon.
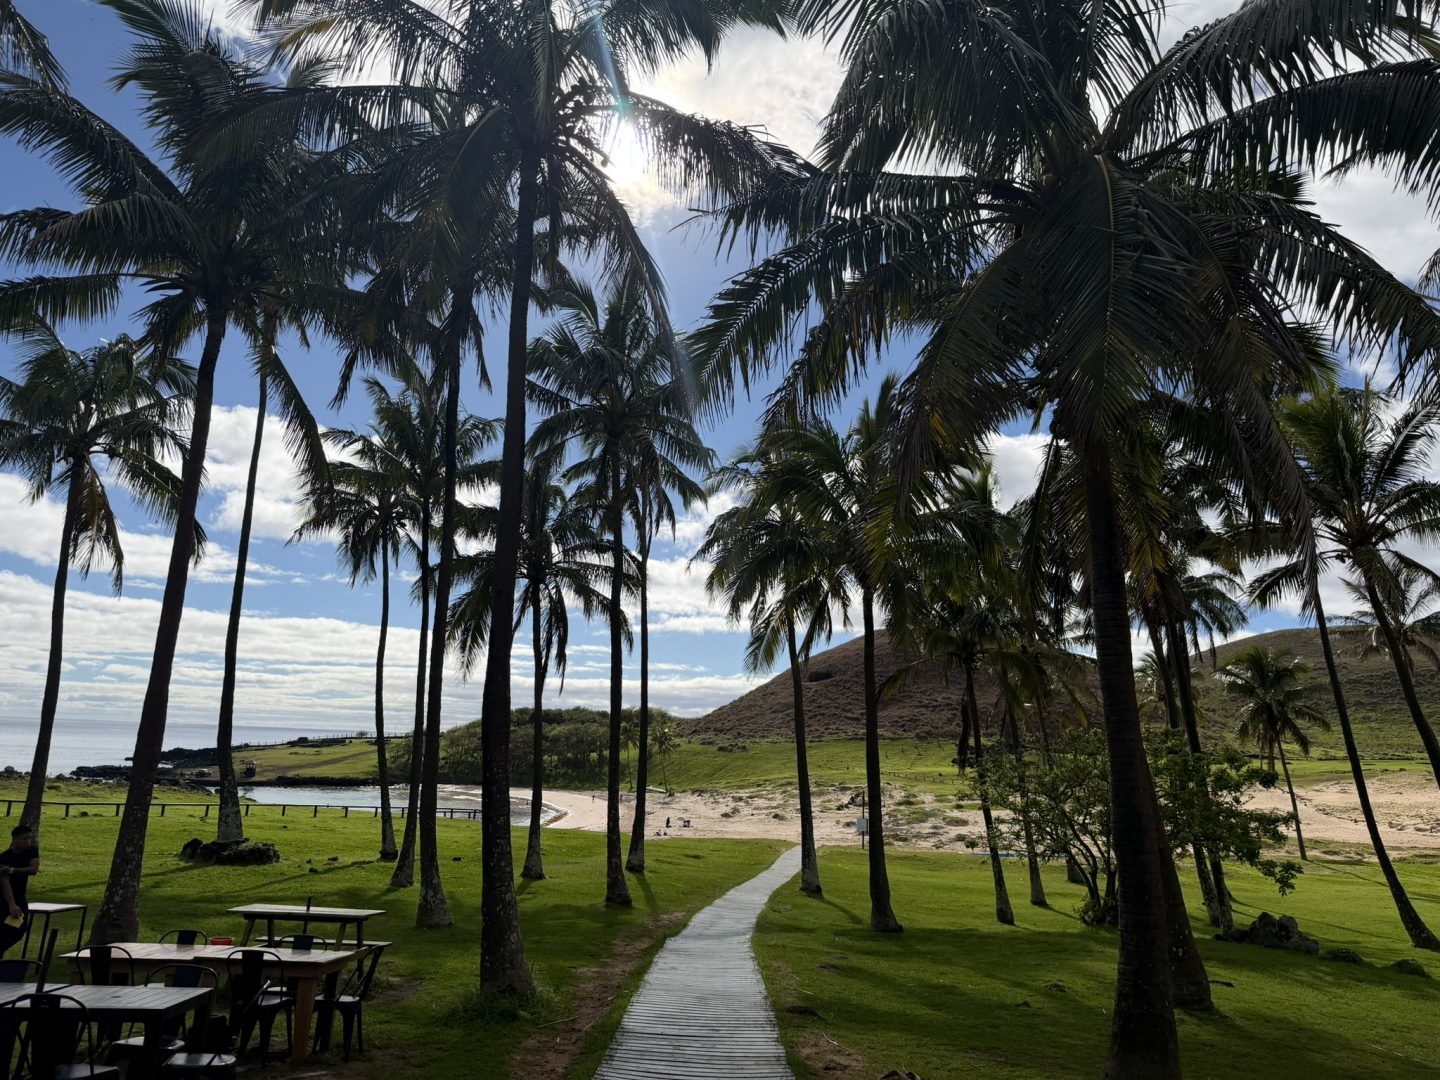
Anakena Beach is publicly accessible, so you can return independently to swim or relax without needing to join another tour. However, visiting Ahu Nau Nau and the archaeological platforms beside the beach requires an accredited guide. We had already visited Anakena as part of our full day tour but didn’t feel we’d had enough time to enjoy the beach, so we went back independently on our final morning before flying to Santiago.
4. Rano Raraku and Orongo Can Only Be Visited Once
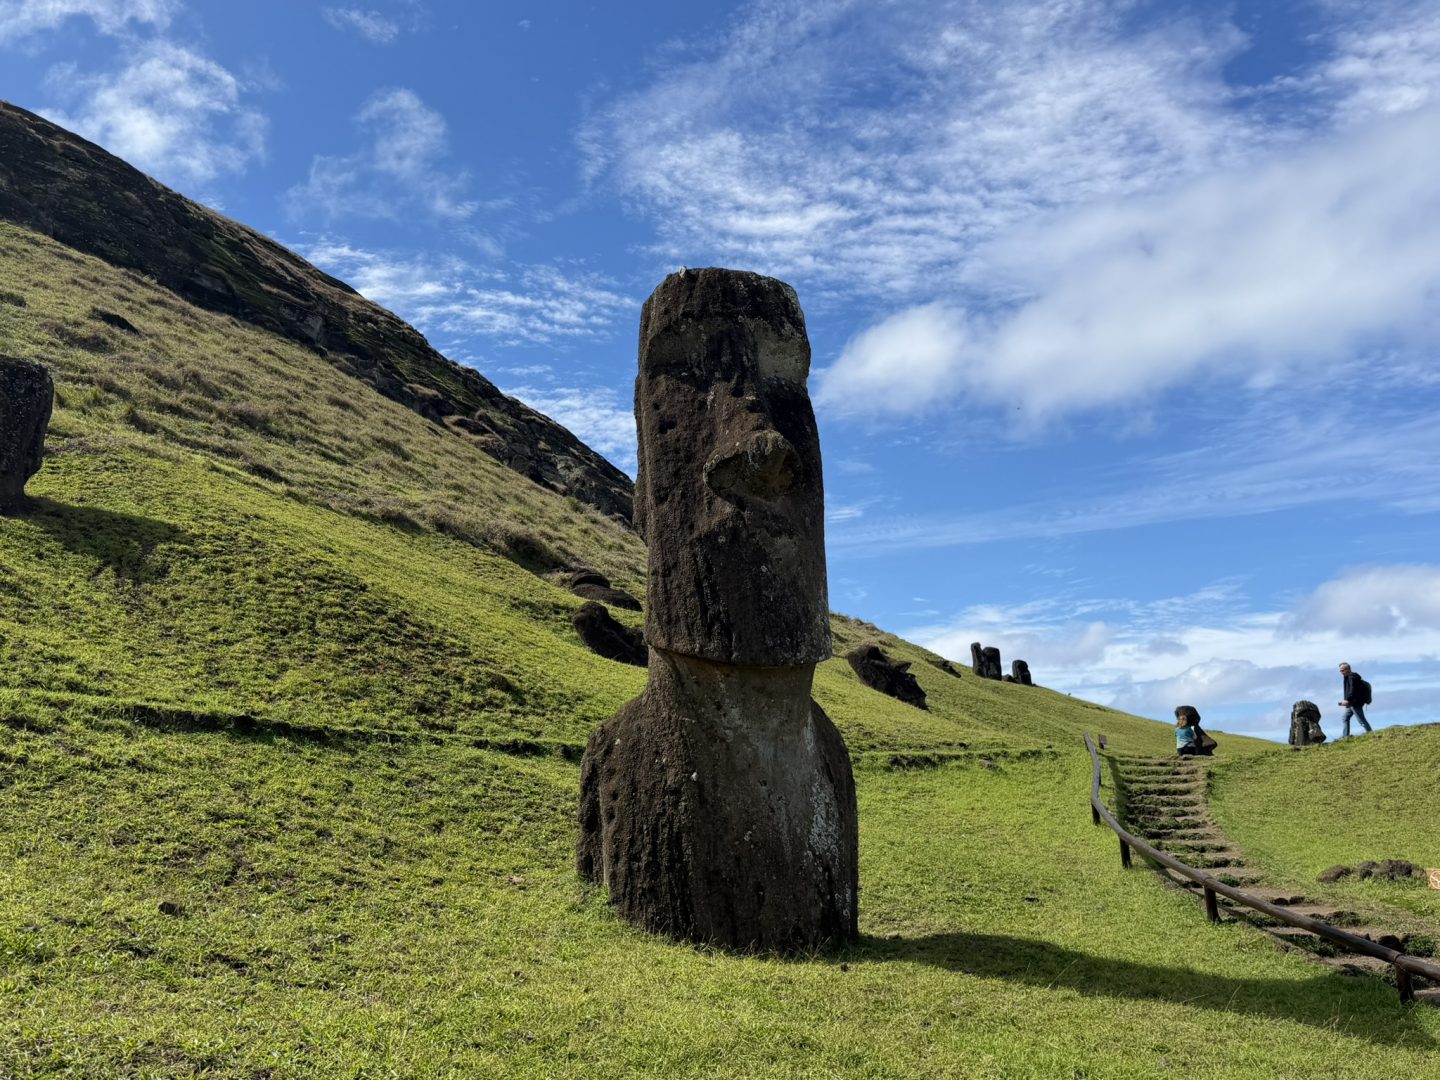
Your National Park ticket allows you to revisit most eligible sites during its validity, but Rano Raraku and Orongo can currently only be entered once per ticket. Rano Raraku is the quarry where most of the moai were carved, while Orongo is the ceremonial village associated with the later Birdman tradition.
5. Choose Tours by Route and Sites
Rapa Nui tours can look confusing when you first start comparing them because different operators use different names for similar routes.
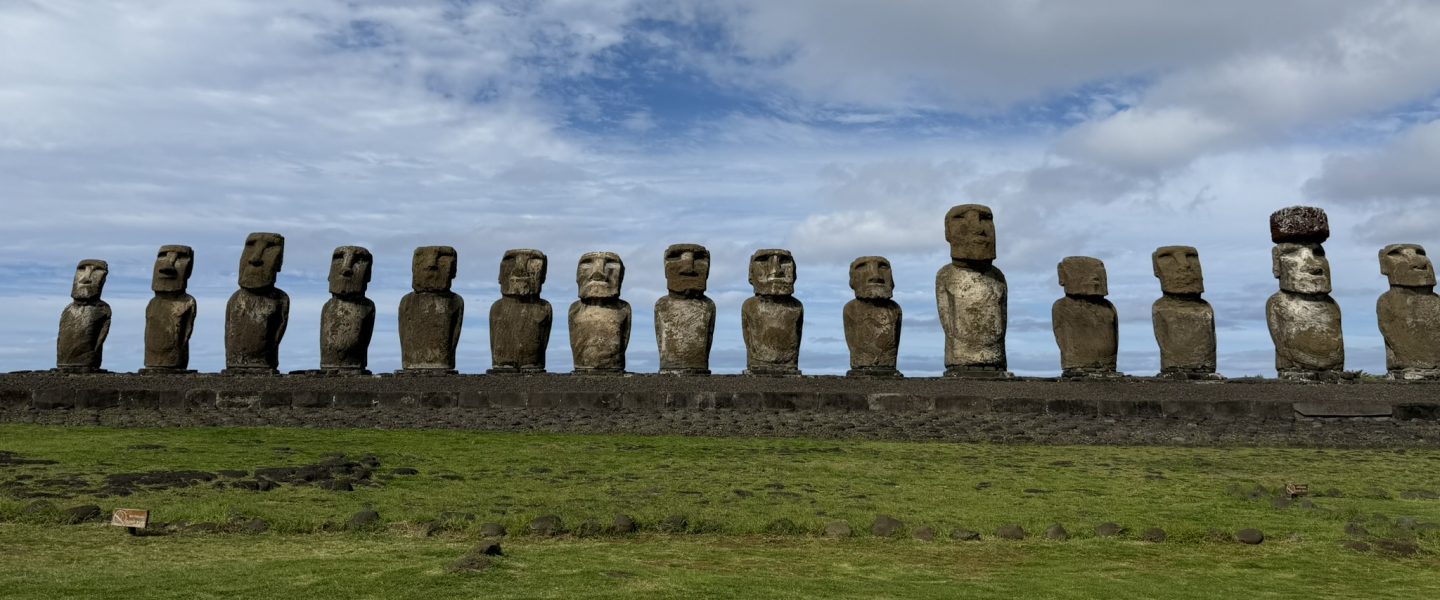
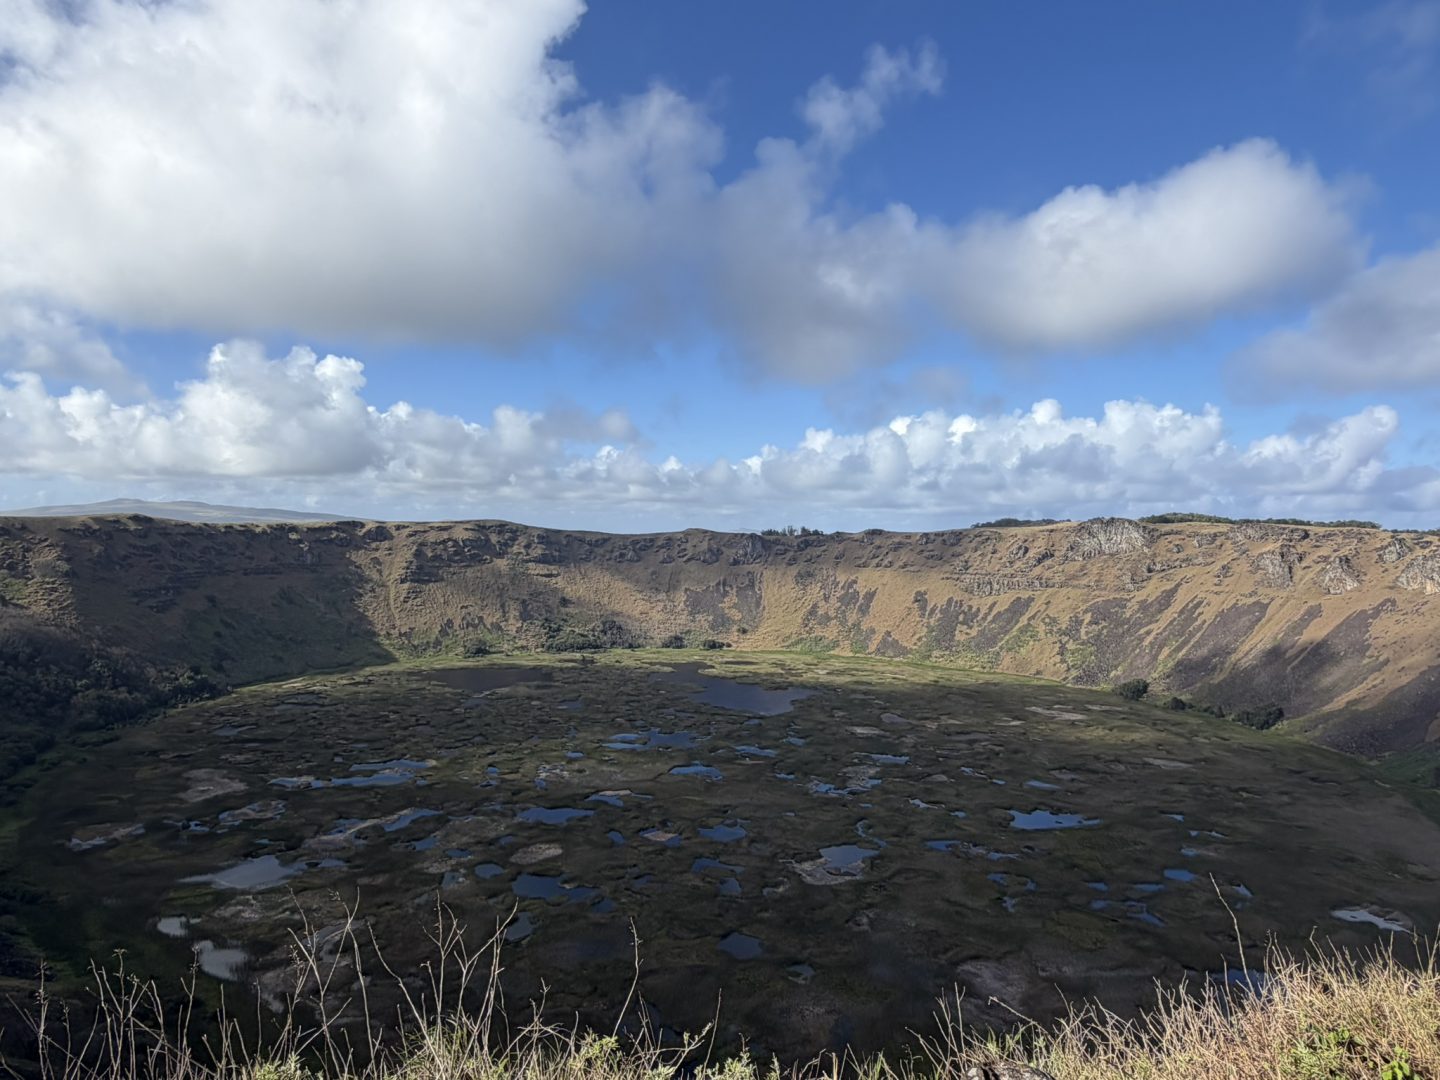
Sightseeing is often grouped broadly into different parts of the island: an eastern/northern route covering places such as Rano Raraku, Ahu Tongariki, Akahanga, Te Pito Kura and Anakena; a southern route around Rano Kau, Orongo and Vinapu; and a central/western route that may include Ahu Akivi, Puna Pau and caves. Current tour operators combine these in different ways.
Our full day tour covered the major eastern and northern sites, while the half day tour on our arrival afternoon took us south to Rano Kau and Orongo. That worked particularly well because we weren’t repeating the same sites across both days.
6. Leave Time for More Than the Moai
The moai are obviously the main reason most people visit, but I’m glad we left some time for the rest of the island too.
Hanga Roa is easy to explore on foot, with restaurants, artisan markets and places to watch the sunset. If you have longer than we did, Rapa Nui also has scuba diving, surfing and boat trips, while Anakena is somewhere you could easily spend longer than the quick stop included on many tours.
I’ve covered these in more detail in Things to Do on Easter Island: The Best Rapa Nui Experiences.
7. Don’t Rely on Your Phone’s Automatic Time
Rapa Nui is two hours behind Santiago, but our phones kept switching between the two time zones while we were on the island. The time on screen would suddenly jump forward or back by two hours, which is particularly unhelpful when you have an early tour or airport transfer.
Keep checking that your phone is showing Rapa Nui time, or turn off automatic time zone settings while you’re there. For anything important, we also found it safer to set a timer rather than relying solely on an alarm tied to the clock time.
8. Pack for Changeable Weather
Rapa Nui has a subtropical climate and relatively warm temperatures throughout the year, but the weather can change quickly. I’d bring comfortable walking shoes, light layers, a waterproof layer, sunscreen, sunglasses and a hat, as well as swimwear if you want to use Anakena or the sea pools. You’ll be walking over uneven archaeological terrain and spending a lot of time outside with very little shade.
For our exact route, see our 2 Days on Easter Island: Our Rapa Nui Itinerary.
Rapa Nui takes a little more preparation than most short trips, but knowing the rules before you arrive makes it much easier to make the most of your time on the island.

